Getting Started with CLO3D: A Beginner’s Guide for Fashion Designers
Design smarter. Start your CLO3D journey today.
5 MIN READ
June 26, 2025

Written By
Sasikumar Janakiraman
Made for apparel pros, CLO3D lets you import flat pattern files and rebuild them as 3D meshes that drape, stretch and crease just like on a real body. You set fabric properties, adjust pattern pieces, and watch how the garment behaves instantly. No more guesswork.
In this guide you will learn to:
- Install and configure CLO3D for best speed
- Import your first pattern pieces and set up fabric behavior
- Run real-time drape sims to check fit and silhouette
First we look at what makes CLO3D the leading choice for rapid fashion prototyping..
What Is CLO3D?
CLO3D is a powerful 3D garment simulation tool used across the fashion industry. It helps designers turn flat patterns into realistic digital garments, offering a faster, smarter way to test fit, fabric behavior, and design choices.
Let’s explore how CLO3D is built and what makes it so effective.
The Architecture of 3D Garment Simulation
CLO3D reads flat pattern files like DXF or AAMA and converts them into particle-based cloth meshes. Each vertex responds to gravity, fabric weight, and thread tension, allowing the garment to drape, fold, and wrinkle naturally. This makes the simulation feel close to how fabric behaves in the real world.
Signature Tools and Capabilities
Inside the same workspace, designers can adjust seam allowances, align notches, and set grainline orientation. Real-time collision detection ensures fabric layers don’t overlap, while tension maps replicate how different materials stretch or compress under pressure.
Why Fashion Designers Should Embrace CLO3D?
1.Accelerated Creative Exploration
Instant drape previews let you test sleeve cuts, collar shapes or layered looks without cutting fabric. Tweak designs on the fly to turn a bold idea into a real sample in minutes.
2.Cost Saving Sample Reduction
By keeping patterns and fabric swatches digital you skip shipping delays and wasted materials. And with one shared project file, team members across cities always use the same version so nothing gets lost.
Explore more : how 3D is transforming online shopping.
Setting Up CLO3D
1.System Requirements and Installation
Aim for a system with at least 16 GB of RAM, an NVIDIA GPU (GeForce GTX 1060 or higher) and a 64-bit OS (Windows 10 or macOS 10.14+). Download the installer, follow the prompts, enter your license key and confirm activation in the Account panel.
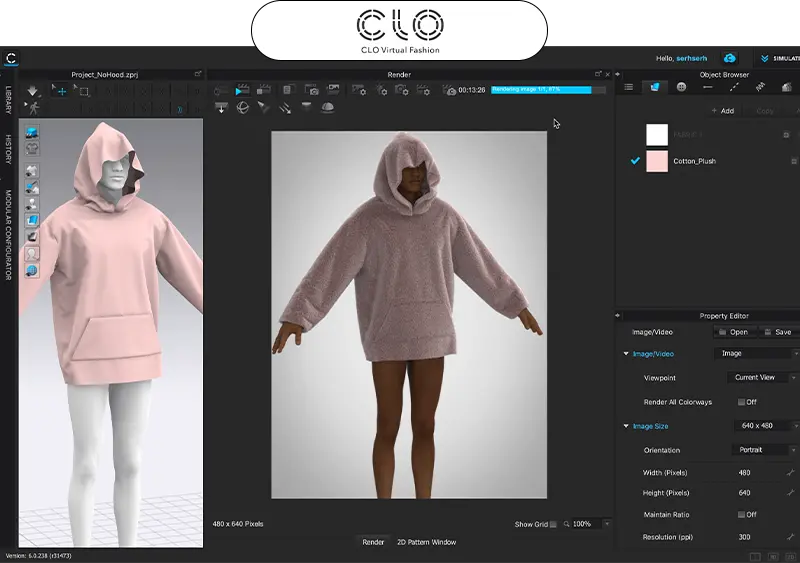
2.Exploring the User Interface
Upon launch you’ll see a 2D window for pattern pieces and a 3D view showing your avatar. Toolbars on each side grant access to pattern editing, material assignment and simulation controls. The timeline slider adjusts playback speed and quality of cloth simulation.
Your First Project in CLO3D
1.Importing and Positioning Patterns
Import DXF or .gar files into the 2D window, then use the Grain tool to align grainlines. Zoom in to match notches precisely. Next, employ Arrangement points to wrap panels around the avatar before stitching.
2.Defining Fabric Properties
Choose a preset or create a custom fabric by setting parameters for thread density, bending stiffness and shear resistance. Attach diffuse and normal maps to simulate real-world texture and light interaction.
3.Running the Simulation
Hit the Simulation button to drape garments instantly. Tweak Particle Distance to refine collision detection. Increase Simulation Quality for finer wrinkle detail, keeping in mind it may slow playback.
Essential Workflow Tips
Implement these tips to optimize performance, precision and presentation in your CLO3D projects.
1.Mesh Optimization
High-resolution meshes look smoother but slow your workstation. Use the Retopology tool to reduce polygons while preserving silhouette.
2.Precision Measurement
Activate the Tape Measure tool to record dimensions such as bust circumference or hem width. Export measurement reports as CSV for integration with PLM systems.
3.Batch Rendering and Export
Configure multiple camera angles, then use the Turntable feature to render 360° animations in MP4 format. For stills, export high-res PNG or EXR files. Package patterns and materials into a .zpac file for easy sharing.
Resources to Level Up
1.Official Learning Channels
CLO3D’s Knowledge Base offers detailed text guides and video tutorials on topics from multi-layer garments to custom scripting. Follow step-by-step walkthroughs to master complex workflows.
2.Community and Extended Training
Platforms such as LinkedIn Learning and Udemy host courses led by industry veterans. Join Slack or Discord groups focused on 3D fashion to exchange pattern libraries, fabric assets and troubleshooting advice.
For more options, explore our updated list of the top 3D modeling software.
Conclusion
By integrating digital prototyping into your design pipeline, you compress sampling cycles, reduce costs and unleash creative exploration.
You now know how to set up CLO3D, import patterns, assign realistic materials and run accurate simulations. Apply these skills to accelerate your next collection from concept to virtual runway.
Ready to see your sketches come alive? Team up with ZealousXR’s CLO3D experts start your free trial today and drape your first digital garment in minutes!
About the writer :
Sasikumar Janakiraman, as the Creative Director at Zealous Services, brings a unique mix of creativity and technical ... skill. He’s passionate about 2D and 3D design, leading teams to create stunning 3D models and visualizations. Sasikumar loves working closely with clients, making sure their ideas come to life in the best possible way. His goal? To make design feel simple and exciting.
Read MoreFrequently Asked Questions (FAQ)
What file formats are supported for pattern import?
CLO3D reads industry-standard formats such as DXF and AAMA, along with its native .gar archive. Once imported, each pattern piece appears in the 2D window, ready for precise placement and stitching.
What are the recommended system requirements to run CLO3D smoothly?
For real-time cloth simulation, aim for at least 16 GB of RAM and an NVIDIA GPU (GeForce GTX 1060 or higher). A 64-bit OS (Windows 10 or macOS 10.14+) ensures compatibility, while a modern multi-core CPU and ample SSD storage help manage complex garments.
How can I create and customize fabrics within CLO3D?
Start with a built-in fabric preset or build one from scratch by setting thread density, bending stiffness and shear resistance. Enhance realism by linking diffuse, normal and specular maps to simulate surface texture and light interaction.
Can I export my 3D garments and animations to other software?
Yes. Static renders export as high-resolution PNG or EXR images and animations as MP4 turntables. To integrate with external CAD or rendering tools, export your mesh data in OBJ or FBX formats.
What techniques help maintain simulation speed with detailed designs?
Use the Retopology tool to reduce polygon count while preserving shape. Adjust the Particle Distance setting to balance wrinkle detail against compute time. Finally, pack pattern pieces tightly in the 2D window to avoid simulating unused areas.